

I love yoga, however it can get intimidating. When first going to a yoga class, you see people doing all of these crazy poses and wonder, “How can I do these?”. Yoga takes a lot of practice. It is not just stretching, but can also be a full body workout. Jumping into the harder poses without mastering the easier ones is not a good idea.
Another thing that can get confusing is the different styles of yoga. For example there is Vinyasa (the more popular one in yoga classes), Hot Yoga, Hatha, Restorative, Yin, etc. There are many more, but I will got into detail about these different styles in a future post.
When beginning to practice yoga, it’s a good idea to familiarize yourself with some of the basic poses and how to do them. Below are some great beginner poses to start with, because they are incorporated in pretty much any yoga practice.


- Cat-Cow (Marjaryasana – Bitilasana)
- Cat-Cow is a yoga pose that helps to warm up the spine, promote body awareness, and stretch the core. For cow, start in tabletop with wrists underneath your shoulders and knees underneath your hips. Distribute weight evenly across the mat. Inhale as you drop your belly towards the mat, lifting your tailbone and chest toward the ceiling. Make sure that you are energetically pushing into the ground and not straining your neck. Next, transition into cat by exhaling as you round your spine toward the ceiling. Make sure to tuck your tailbone and draw your belly button toward your spine. Bring your chin towards your chest pushing energetically into the floor.

- Child’s Pose (Balasana)
- Child’s Pose is a great beginner-friendly pose that gently stretches the back, hips, and thighs while calming the mind and inducing relaxation. You can use it as a resting pose between active poses. You first start in tabletop. Inhale as you bring your bum onto your heels (you can either keep your knees together or apart, whatever is comfortable). Then, exhale as you fold forward bringing your forehead onto the mat. Stretch your arms towards the front and grip the mat moving your fingers forward to deepen the stretch on your back.
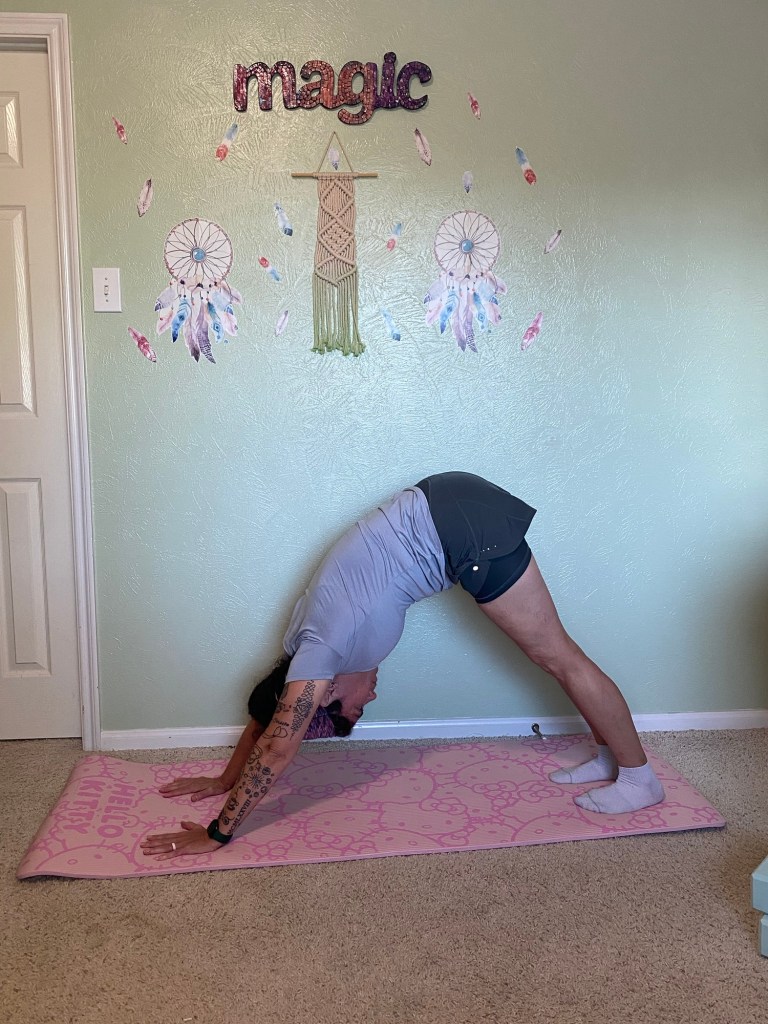
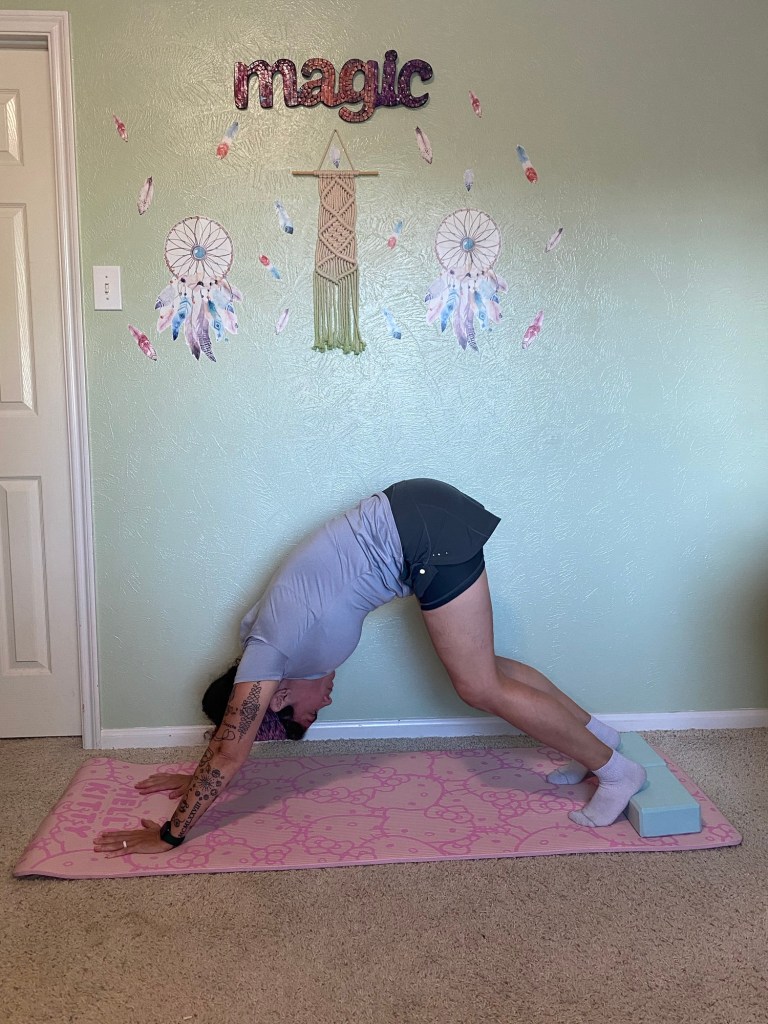
- Downward Facing Dog (Adho Mukha Svanasana)
- Start in tabletop. Place your hands under shoulders, knees under hips, with toes tucked under. Exhale as you lift your knees and raise your hips toward the ceiling to form an upside-down “V”. Keep your spine long, engage your core, and tuck your head towards your chest. Actively push your hands into the floor, making sure not to dump any weight on your shoulders. Option to use a block under your heels (if you have tight hamstrings) or you can straighten your legs while pressing your heels into the mat.


- Mountain Pose (Tadasana)
- Standing tall with feet hip width apart, spread the toes and then place them on the mat (as though you are gripping it). Tighten your thighs, glutes, and core. Roll your shoulders back placing hands by your side with palms facing forward. Push head slightly back to align with your spine. Although you are standing, it is an active pose. Imagine you ARE a mountain, standing strong and tall.

- Easy Pose (Sukhasana)
- Sitting in a comfortable seated position, with one leg in front of the other, roll your shoulders back and lengthen your spine (by bringing your belly button towards your spine). You can place your hands on your knees (like I have here), or in Anjali Mudra (prayer hands) at chest center. You can also use a yoga block under your sitting bone to help lengthen your spine, if that’s not accessible.
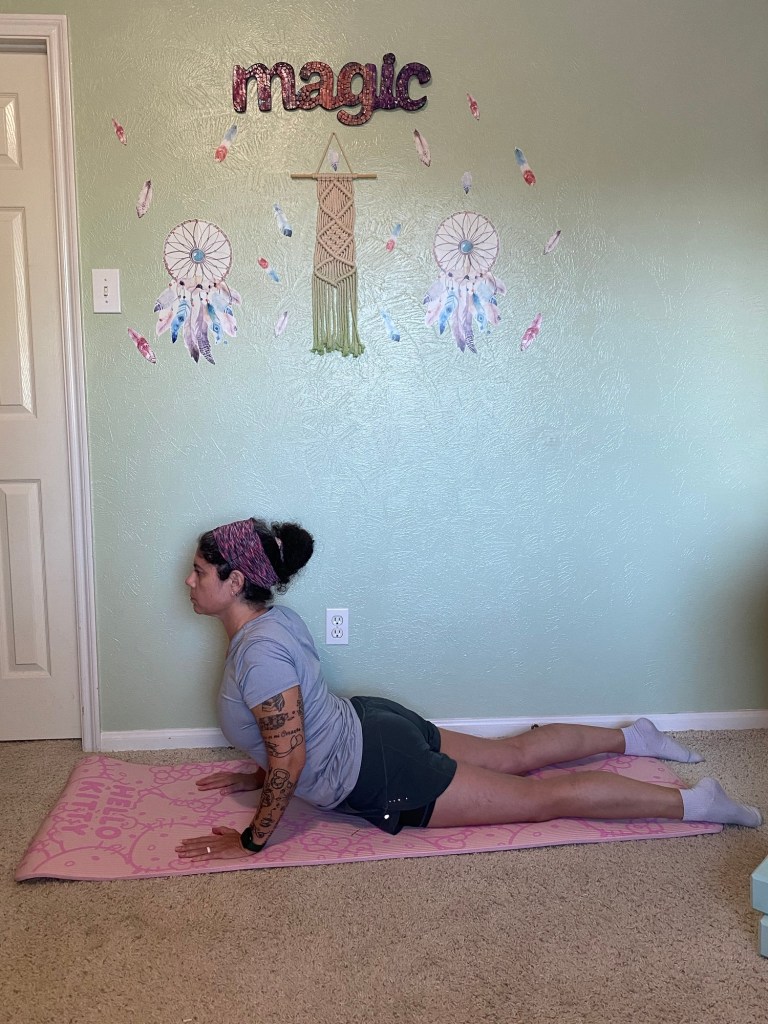
- Cobra (Bhujangasana)
- Lie face down on the mat and place your palms next to your armpits with the elbows close to your sides. Extend your legs with the tops of the feet flat on the mat. Engage your core to protect your lower back and press your hips into the mat. Push into the ground and lift your chest, making sure to roll your shoulders down and away from your ear. Lengthen your neck. You can go as high as it’s comfortable for your back. Make sure to keep your glutes “loose”. You don’t want any tension in your lower back. Exhale as you come back to the mat.
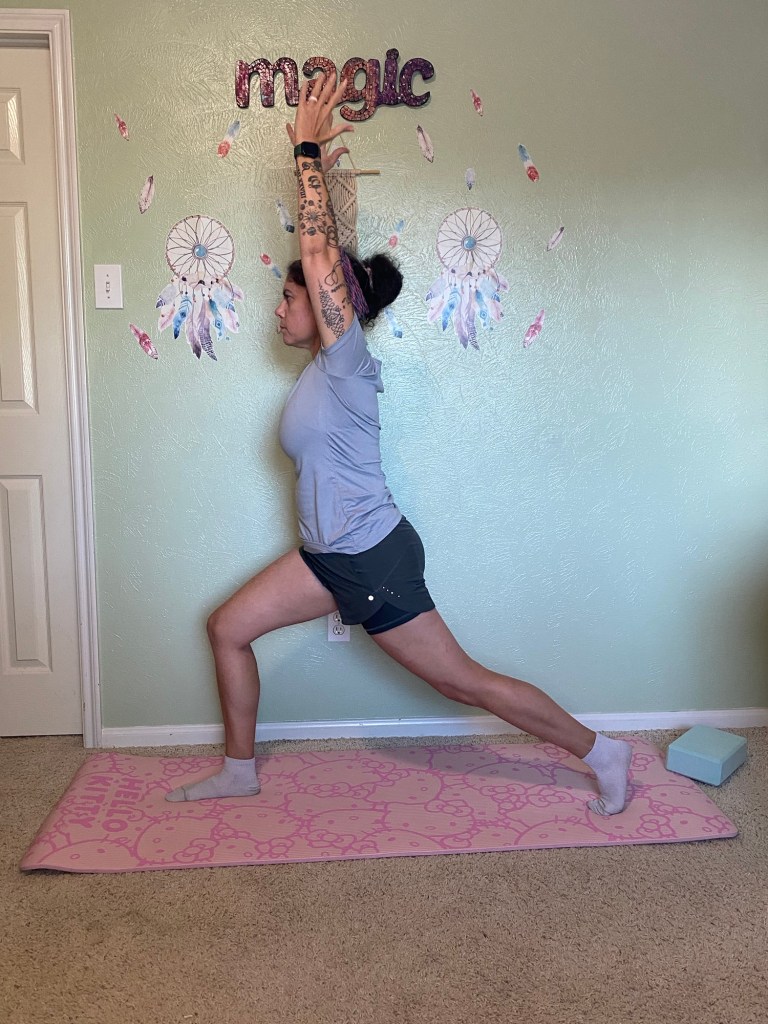
- Warrior I (Virabhadrasana I)
- Start in Mountain Pose. Step one foot back, about 3-4 feet depending on the length of your legs. Keep your front foot facing forward and the back foot turned out about 45 degrees with the heels firmly on the mat. Bend the front knee, keeping it aligned over the ankle. Push into the front heel and outside of the back foot for balance and also engage your leg muscles. Square your hips to face forward. Adjust your stance to make sure that you are balanced. Raise your hands to the sky with palms facing each other. Engage your core, keeping your torso nice and long, and breathe. Exhale and bring your back foot forward in line with your front foot for Mountain Pose.

- Warrior II (Virabhadrasana II)
- Start in Mountain Pose. Step one foot back, about 3-4 feet depending on the length of your legs. Keep your front foot facing forward and the back foot will be parallel to the short side of the mat. Push into the front heel and outside of the back foot for balance and also engage your leg muscles. Bend the front knee, keeping it aligned over the ankle. Square your hips to face sideways (about 45 degrees). Adjust your stance to make sure that you are balanced. Raise your arms to shoulder height with palms facing the ground. Engage your core, keeping your torso nice and long, and breathe. Exhale and bring your back foot forward in line with your front foot for Mountain Pose.
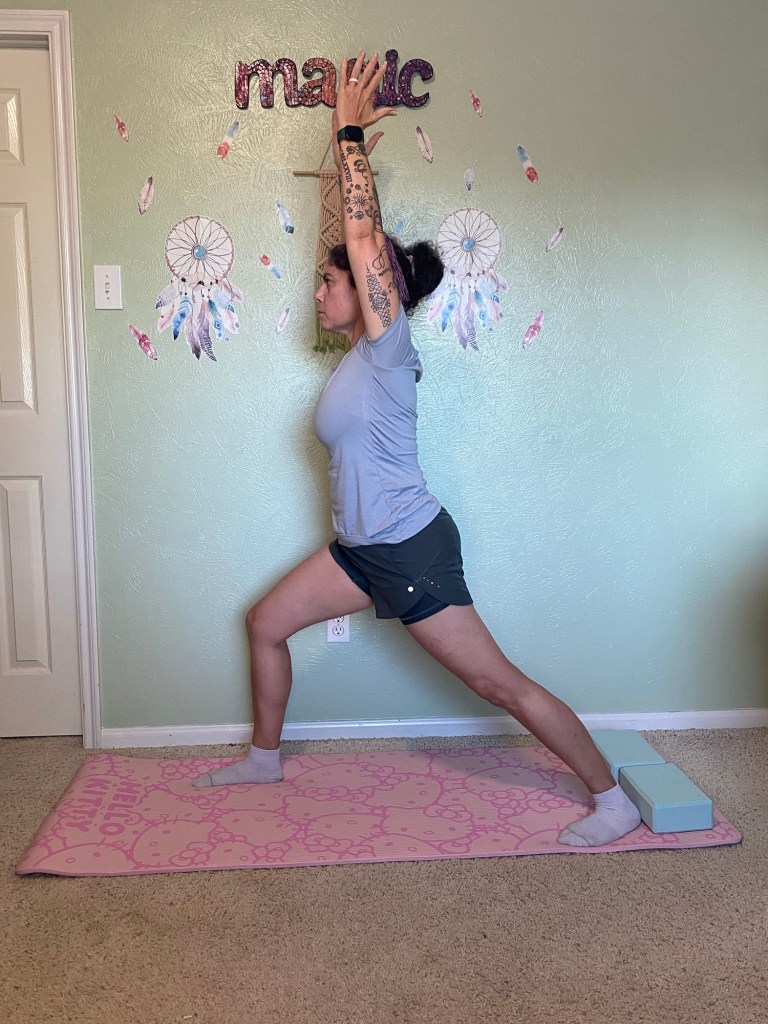
- High Lunge (Ashta Chandrasana)
- Start in Mountain Pose. Step one foot back, about 3-4 feet depending on the length of your legs. Keep your front foot facing forward and balancing on your back toes. Bend the front knee, keeping it aligned over the ankle. Push into the front heel and the back toes for balance and also engage your leg muscles. Square your hips to face forward. Adjust your stance to make sure that you are balanced. Raise your hands to the sky with palms facing each other. Engage your core, keeping your torso nice and long, and breathe. Exhale and bring your back foot forward in line with your front foot for Mountain Pose.

- Corpse Pose (Savasana)
- This is my favorite pose. Yoga classes always end in Savasana. We do this to allow the body to absorb all of the good things that you did in class. It helps to calm and reset the system. B.K.S. Iyengar states in his book Light on Yoga that, “This conscious relaxation invigorates and refreshens both body and mind.” However, he also states that “it is much harder to keep the mind than the body still…..this apparently easy posture is one of the most difficult to master.”
- Start by lying flat on your back with your palms up and slightly away from your body. Legs and feet will be slightly apart and relaxed. Close your eyes, if comfortable. Breathe in and out slowly, concentrating on your inhales and exhales. If your mind wanders, try to bring it back to the breathing. Stay for a couple of minutes, however, set a goal to eventually stay for 5-10 min. When you are ready to end Savasana, deepen your breath, wiggle your fingers and toes, and slowly roll to one side before sitting up.
In conclusion
A great place to start would be to find a beginner yoga class at your local gym or yoga studio. They tend to be slower and the teacher will suggest modifications for you to do. You can also use the props they have to help in your yoga practice.
When beginning yoga, it can definitely be intimidating going to a class. I suggest bringing a friend (or two)! Another option would be to practice yoga at home until you feel confident going to a class. The only downfall is that you don’t have a teacher correcting your form like I do with my students. There are wonderful yoga teachers on YouTube if you would like to start this way.
When teaching yoga, my favorite students to teach are beginners. I keep my yoga classes nice and slow with a lot of modifications. It’s wonderful getting the awesome feedback at the end of class, since for most, it’s their first time attending a yoga class. I love it when they feel relaxed and stretched.
Another option, if you would like to learn proper alignment and form in the asanas (poses), is to hire a 1:1 yoga teacher. This is also my favorite part because you can really work on form with the student without distractions of others. It gives them the freedom to make mistakes without feeling shy and building confidence because they have a teacher to help them. I’ve had yoga students want to do 1:1 training so that they feel comfortable & confident with the lingo and poses before attending a yoga class.
If you are interested in 1:1 yoga training (face to face or online), reach out to me at carola@groundingfitness.com.

